
I was feeling the same :D.
Boy, because of 500c you made me do all that? I was feeling like the Crimson Fleet treated me nicer here.
I was feeling the same :D.
Boy, because of 500c you made me do all that? I was feeling like the Crimson Fleet treated me nicer here.

Maybe this: https://www.microchip.com/en-us/product/PCI11400 Unfortunately to access the whole datasheet you might have to sign an NDA (and probably have a large company), also designing things with those kinds of interfaces isn’t trivial.
Alternatively maybe this: https://www.renesas.com/us/en/products/interface/usb-switches-hubs/upd720202-usb-30-host-controller It also seems to be locked by an NDA.

I also have that guy :)
Not sure if that helps your research. We have an (very expensive “upper 4 digit region” they didn’t tell me exactly) DJI drone (an Matrice 30T if I remember correctly) at work that has the option of operating autonomously with a base-station where it also automatically lands and recharges. The catch is it’s like impossible to operate autonomous UAVs here because of airspace restrictions (that’s why we only have the “manual” version without that base-station thingy). I’m not directly involved in the department that operates the drone so I don’t have more in depth insights but maybe that already helps a little.
Fun fact, our military had to cancel a large and very expensive drone program because the drone (a little larger one tho) couldn’t get certified in European airspace (“Eurohawk” if you want to google that). So I’m not sure how easy it will be to hack something together depending where you are in the world and what restrictions say there.
I did it somehow expect to be even more expensive, so I’m not that shocked.
I’m sure https://lemmy.world/c/pcmasterrace can help :)
Wet sanding (with appropriate sandpaper) makes a huge difference, especially for smaller grid sizes.
But it’s probably easier to just get some individual pieces from Bricklink.

Mine is the smallest one of a series of these, it has two heating elements inside.
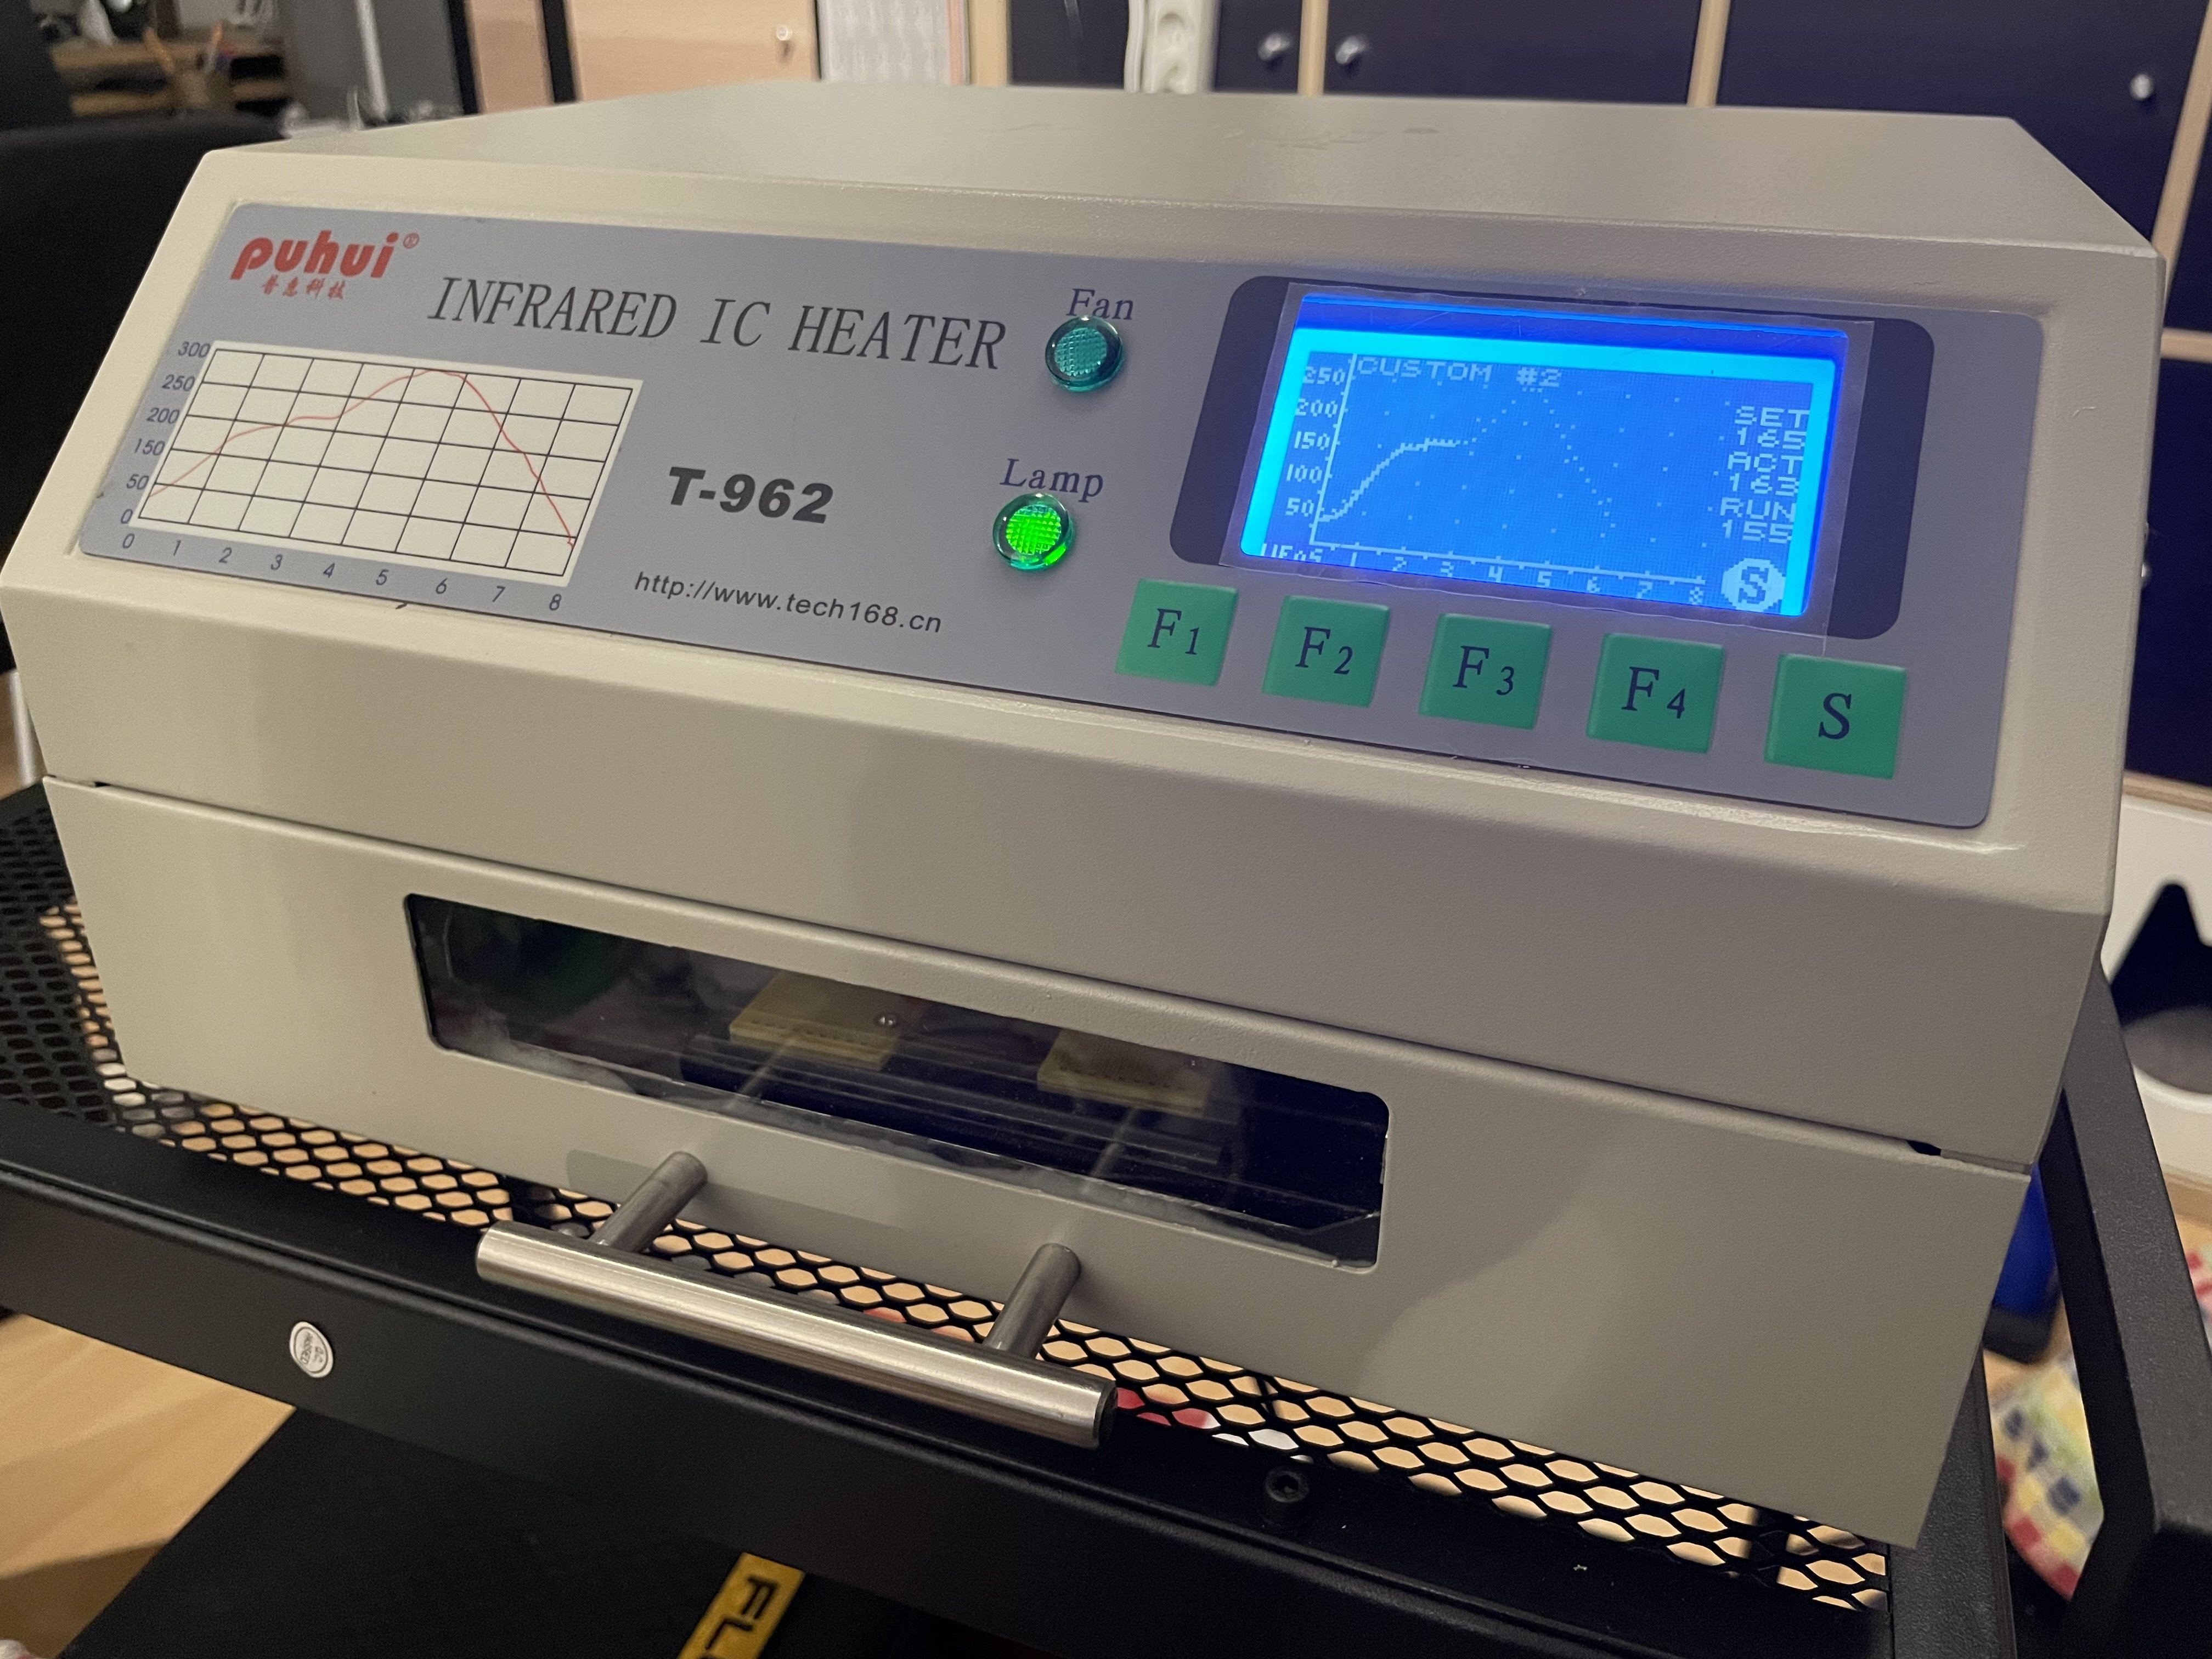
I don’t have it for that long but I didn’t have problems so far, I’m usually only making rather small PCBs tho. I did make some recommended modifications like replacing the paper insulation tape with a kapton tape, proper grounding and flashed another firmware.
I did only use a small hotplate and/or a hotair station, so it seems to be definitely a stepup here 😌.
Yeah I have such a small, cheap Chinese one (T962) that I modified and flashed a nicer firmware on.
I basically populated the bottom side (with more components) first after applying solder past with a stencil, then reflowed the board. After cooling down I applied the solder paste to the upper side (with the LED) by using a small needle on a syringe (because using a stencil was too weird since the board wasn’t laying flat) but since the pads are relatively large and not that many that worked fine. Then I placed the components on that side and simply run the reflow cycle again.
I started with the bottom side because there are no heavy components. I expected heavy parts to just fall off on the second reflow cycle so I tried to avoid that.
At the end I manually assembled the USB connector using a regular soldering iron and tons of flux gel.
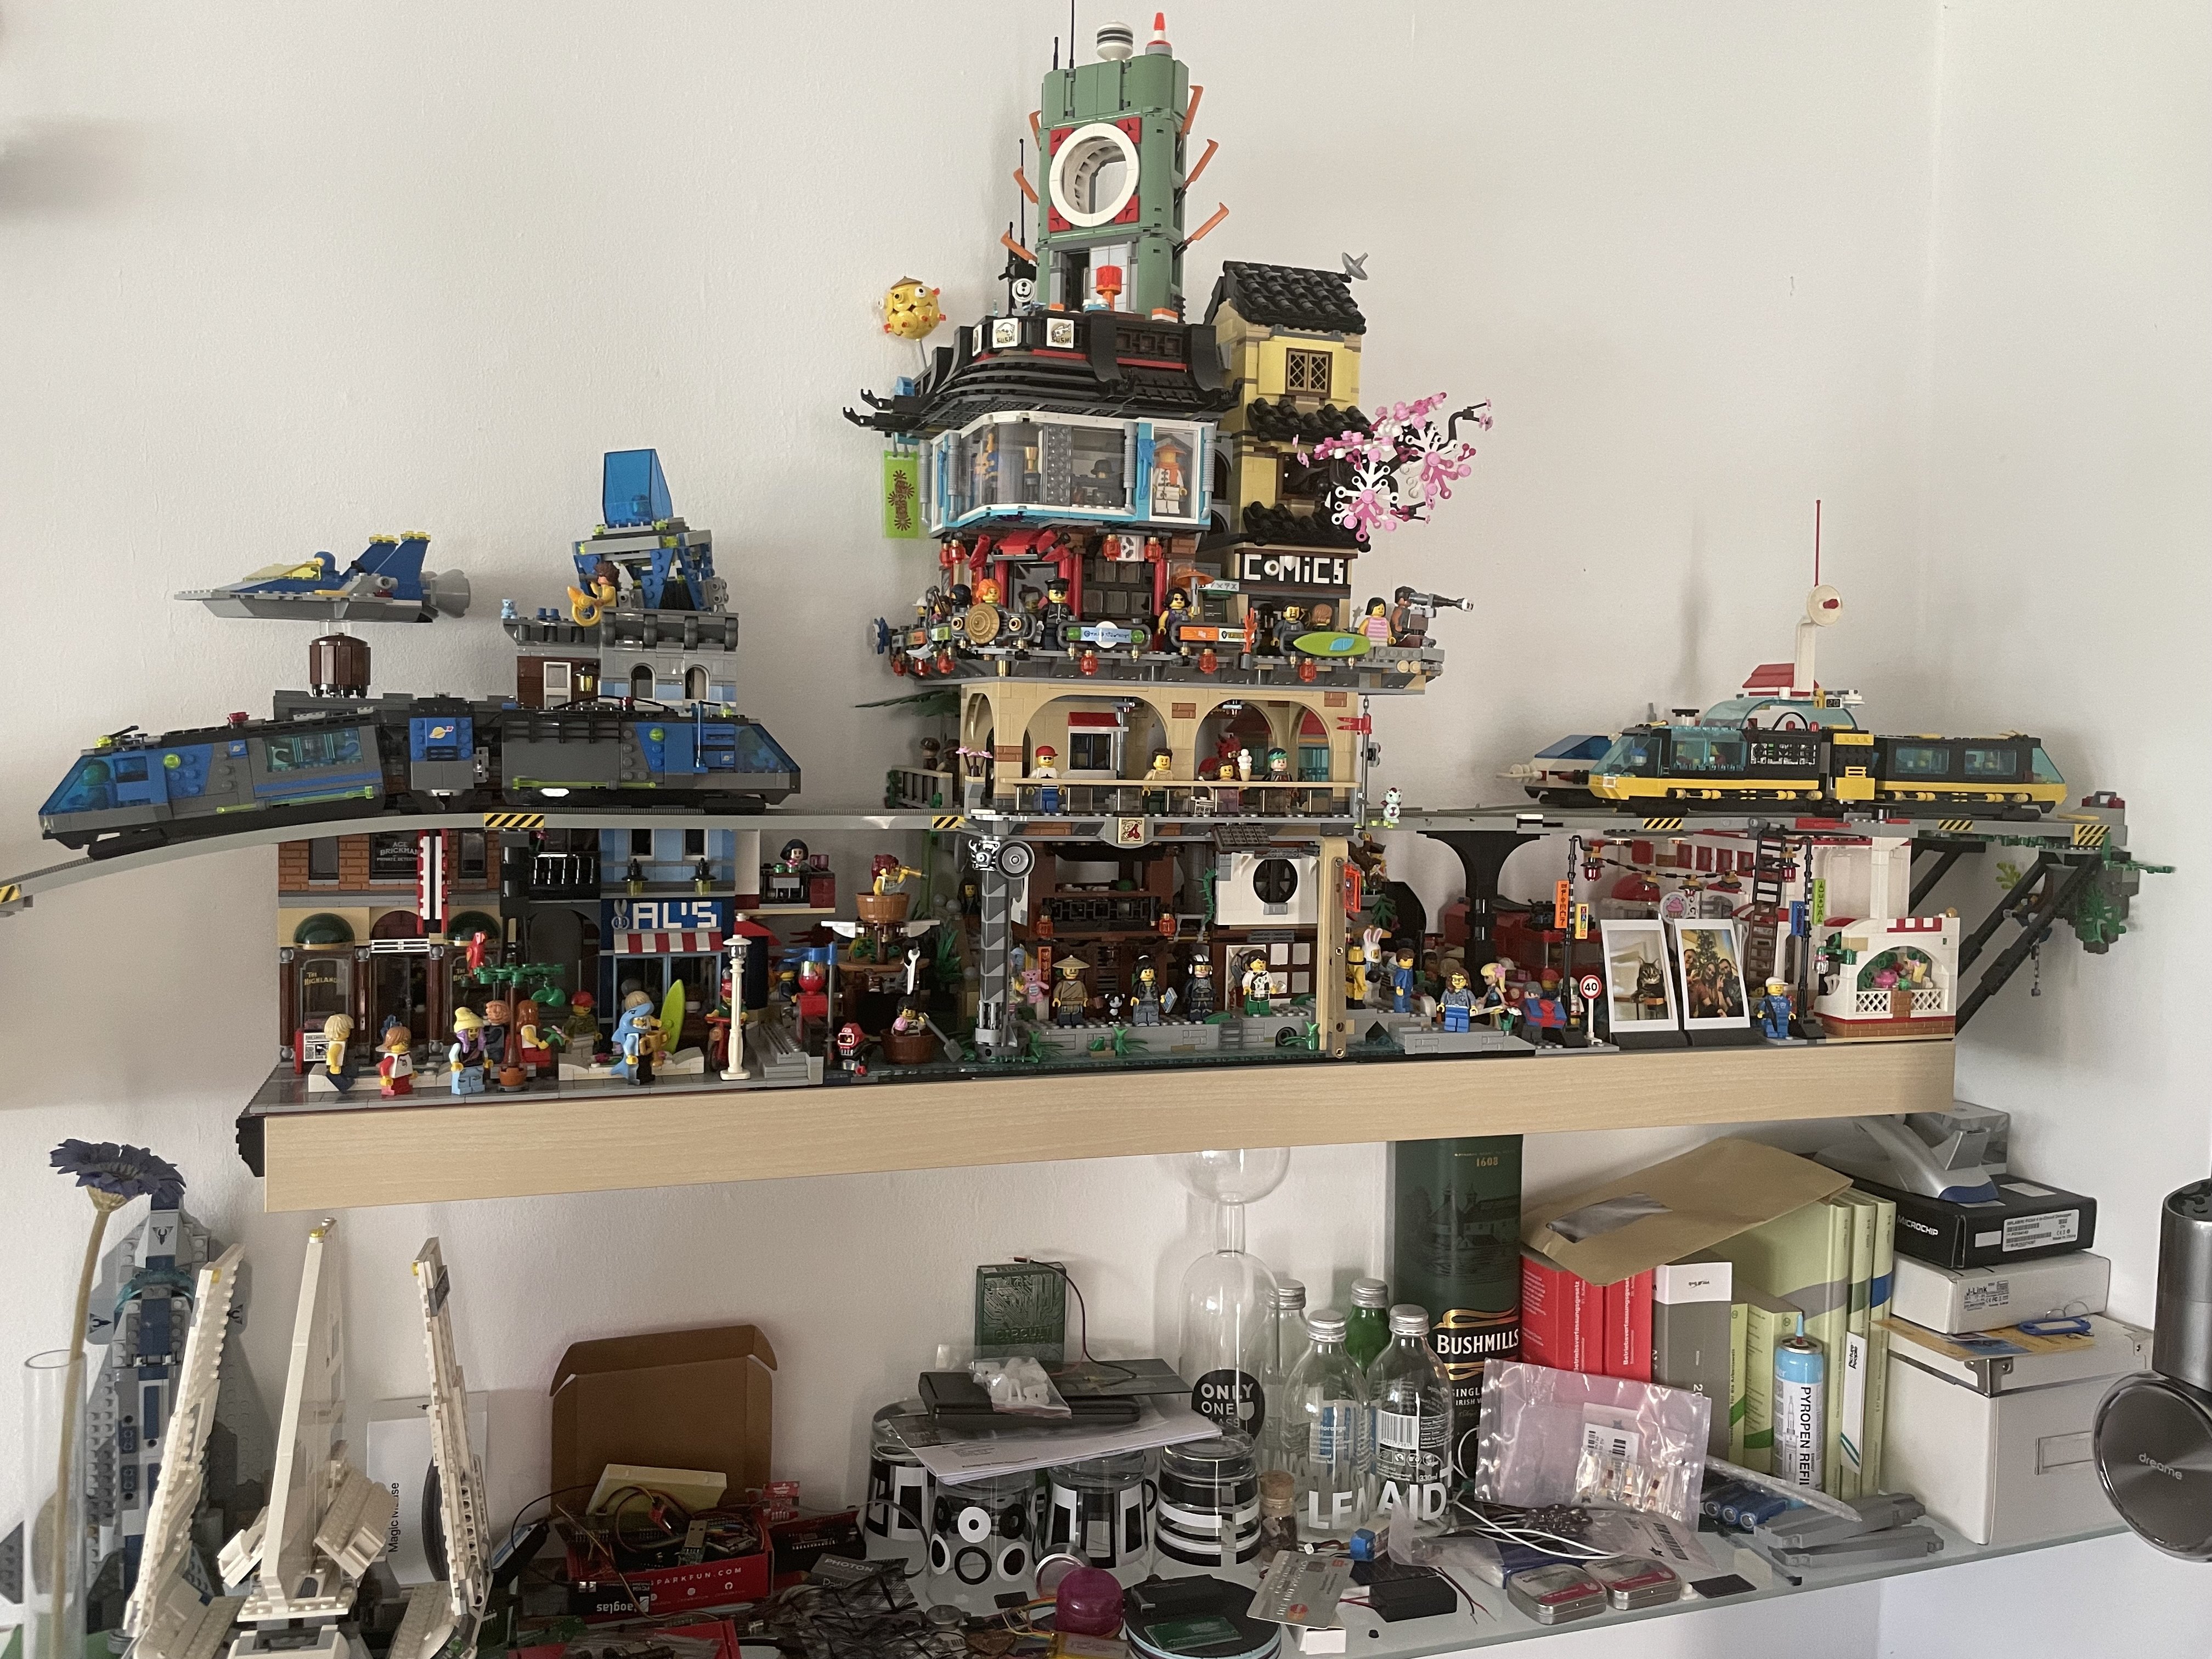
Oh don’t be afraid it doesn’t go to nowhere :D. I just posted some images how that line continues :).
The train on the left is heading into an (under construction) underground section 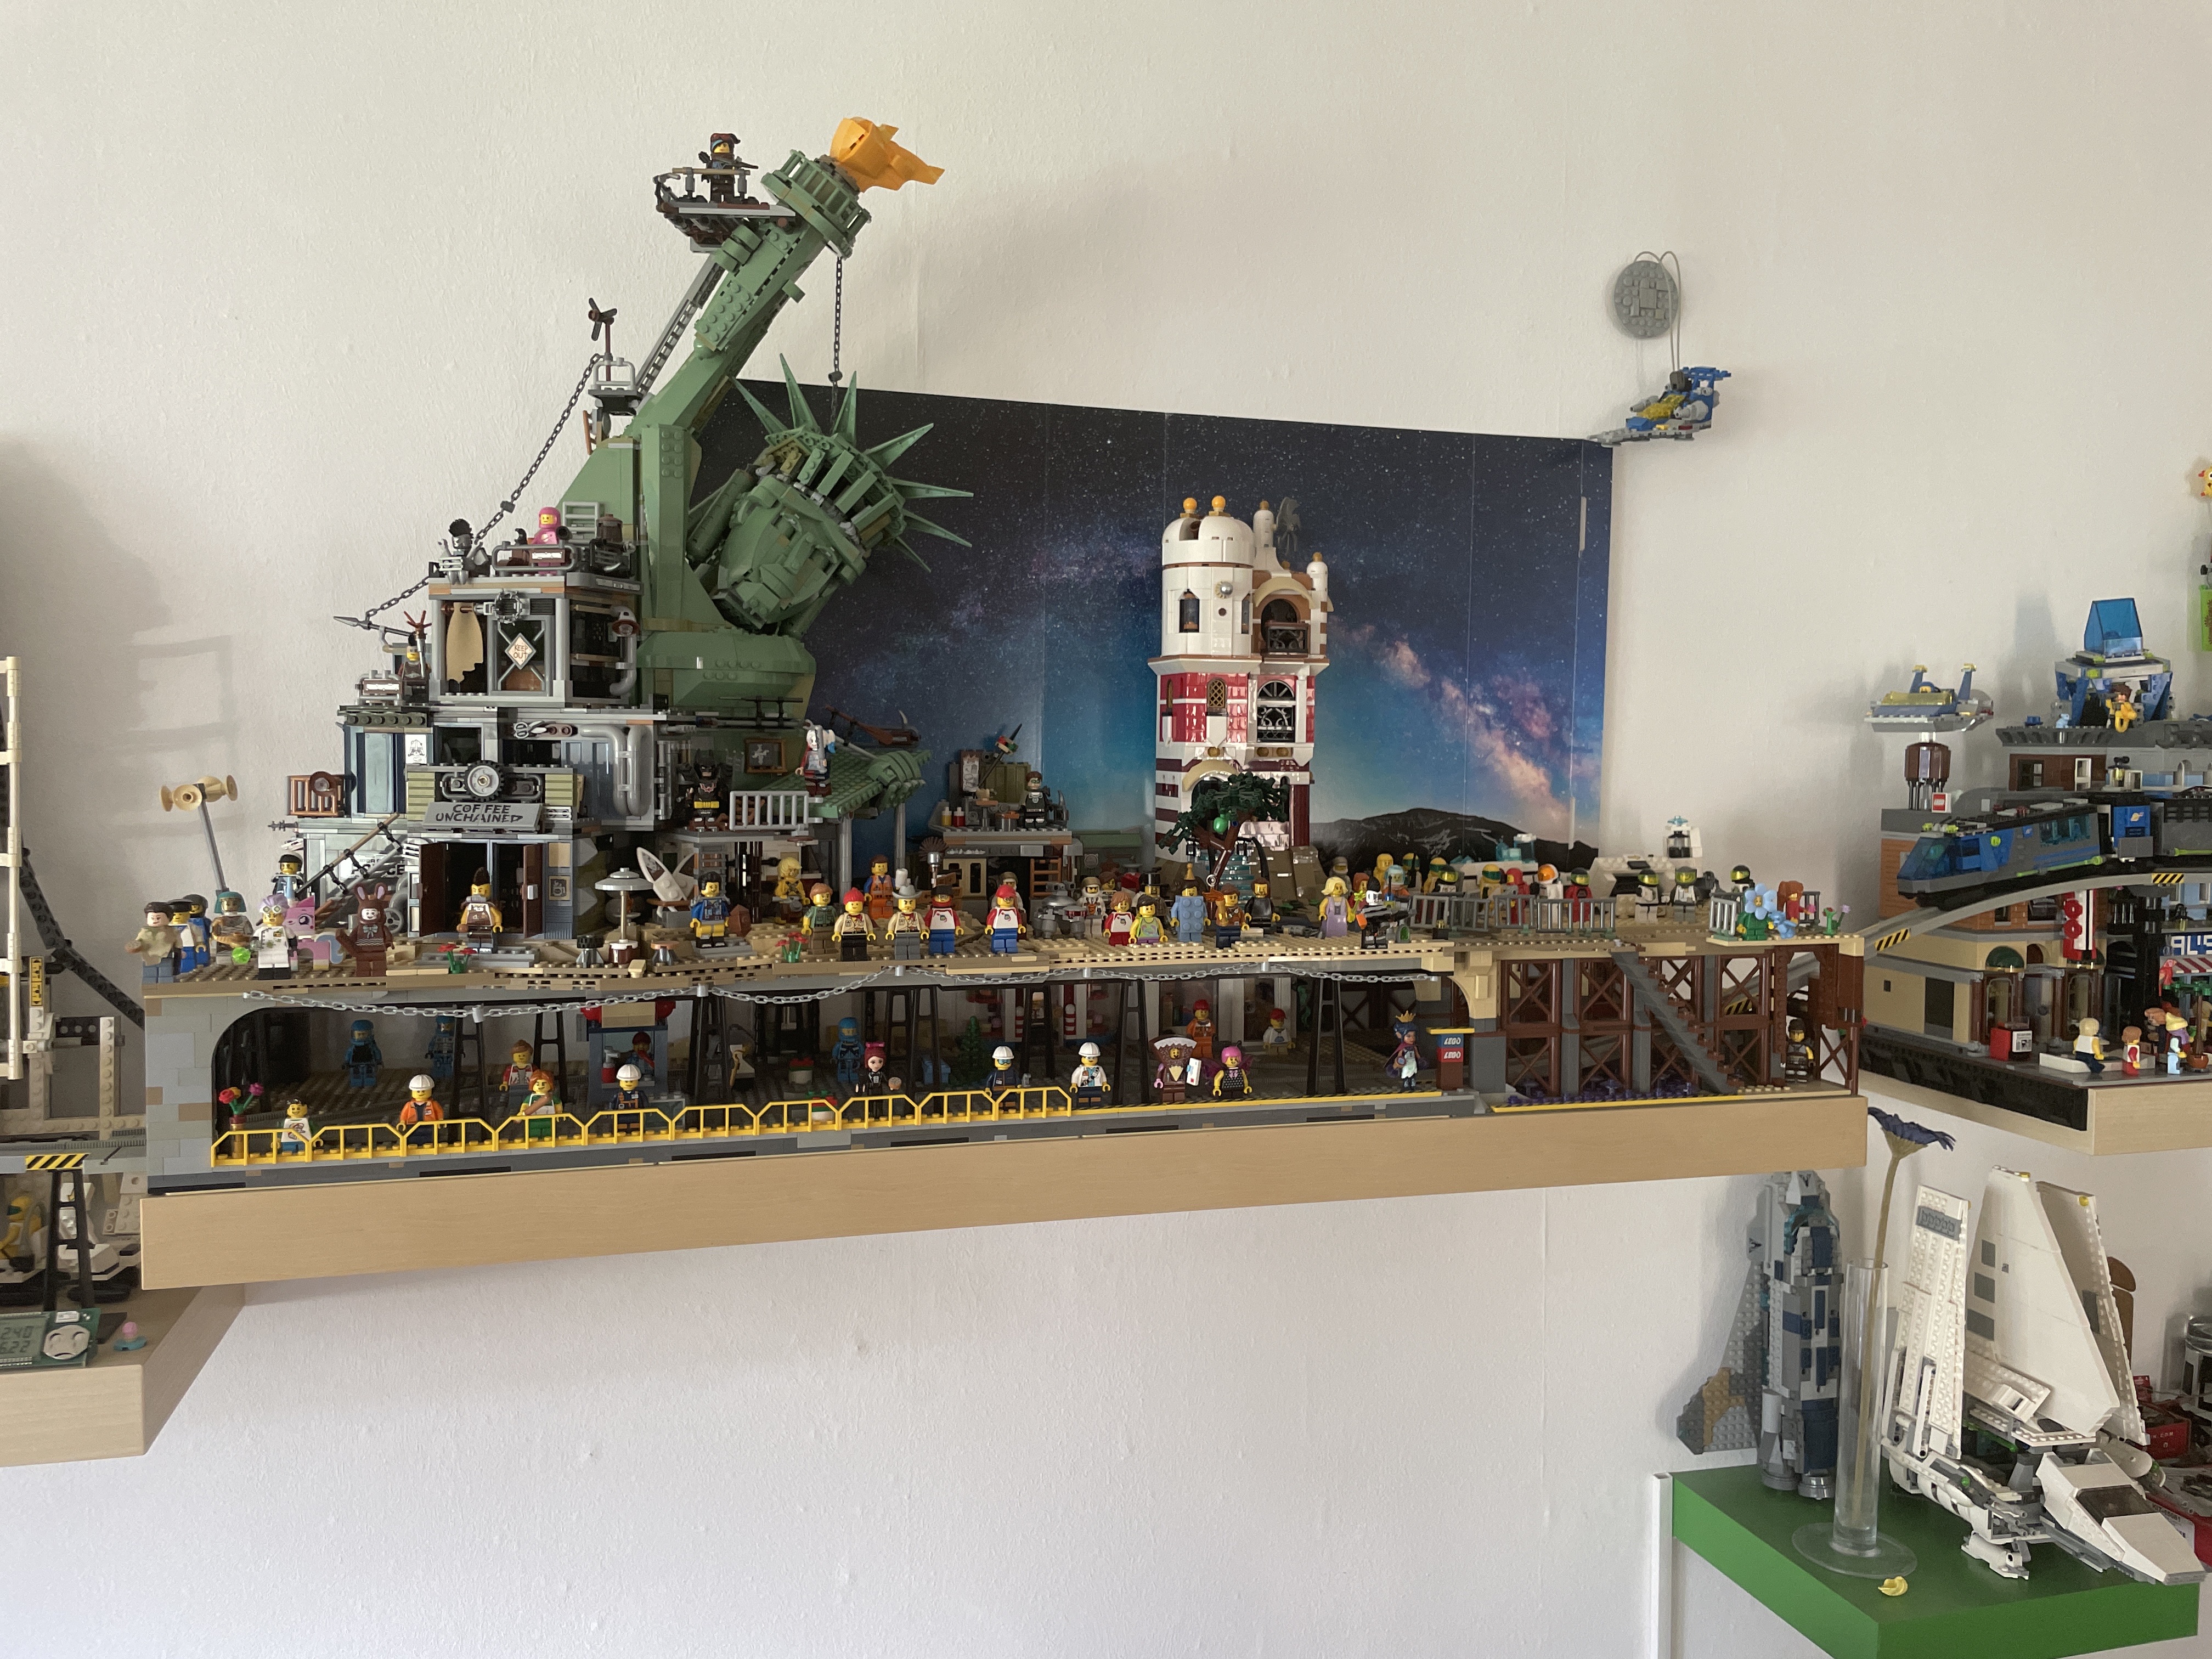
There are also some leftovers from a crashed monorail train (no monorails were harmed here, it’s built from regular parts).
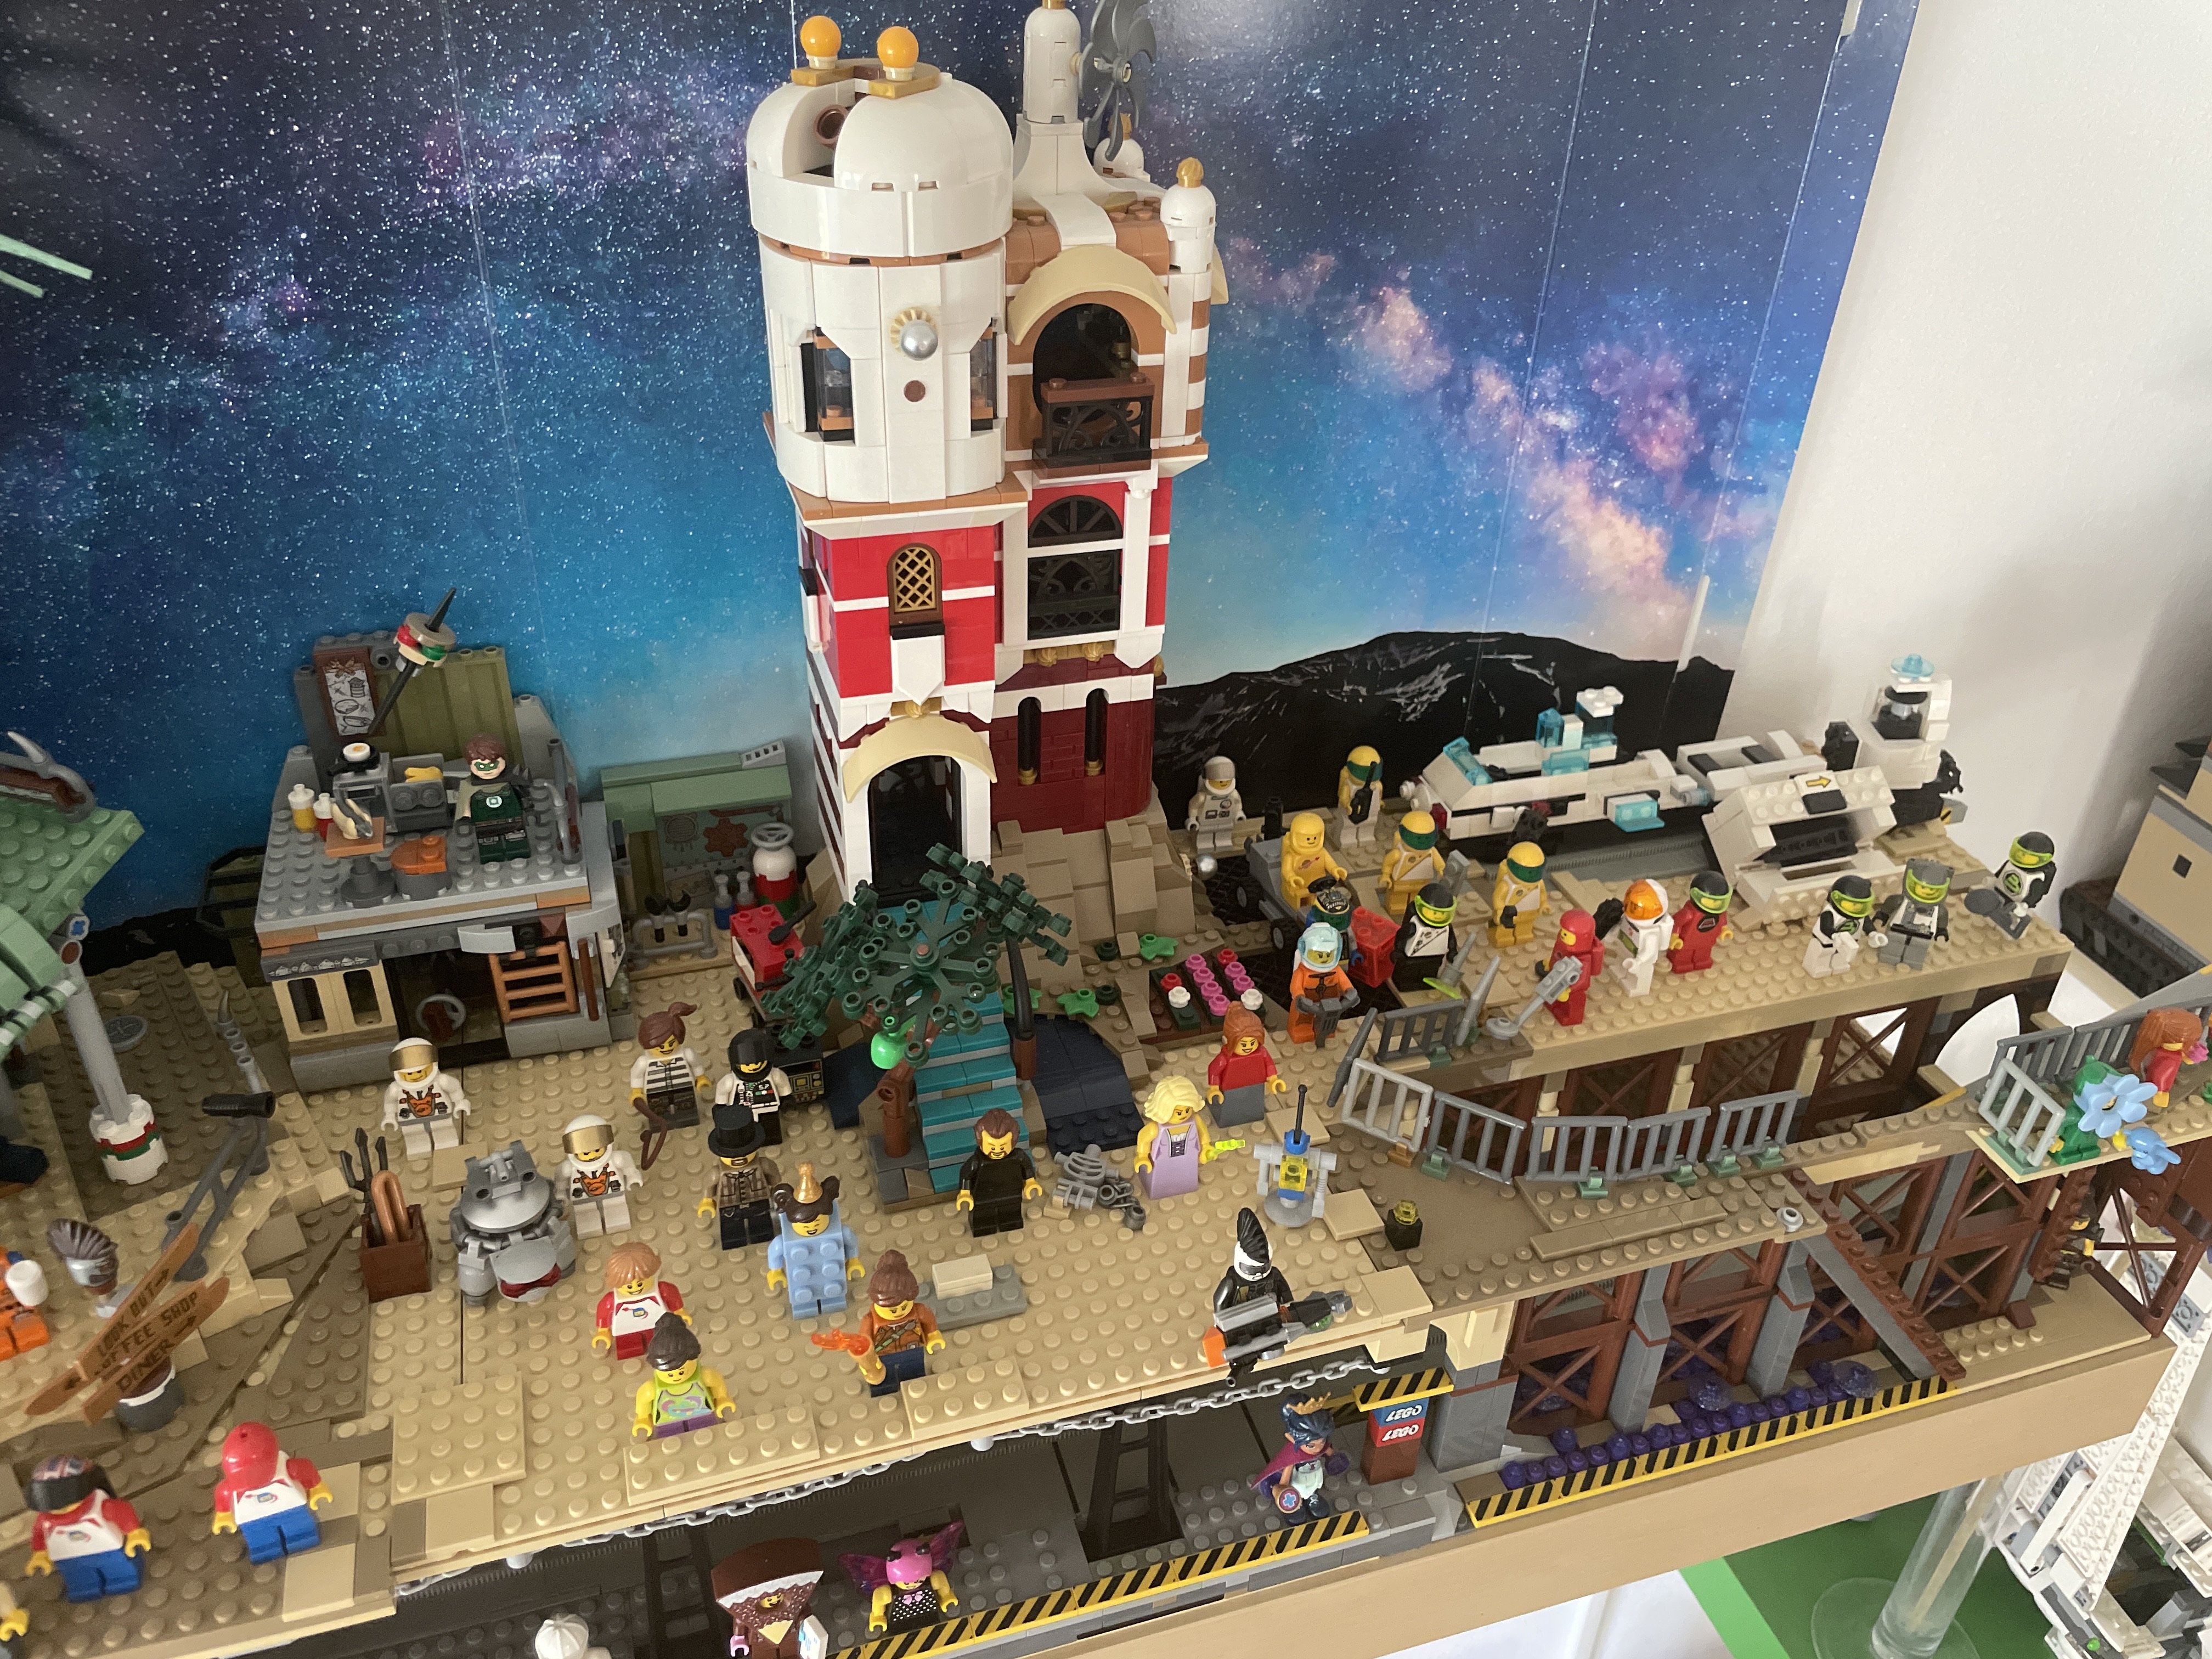
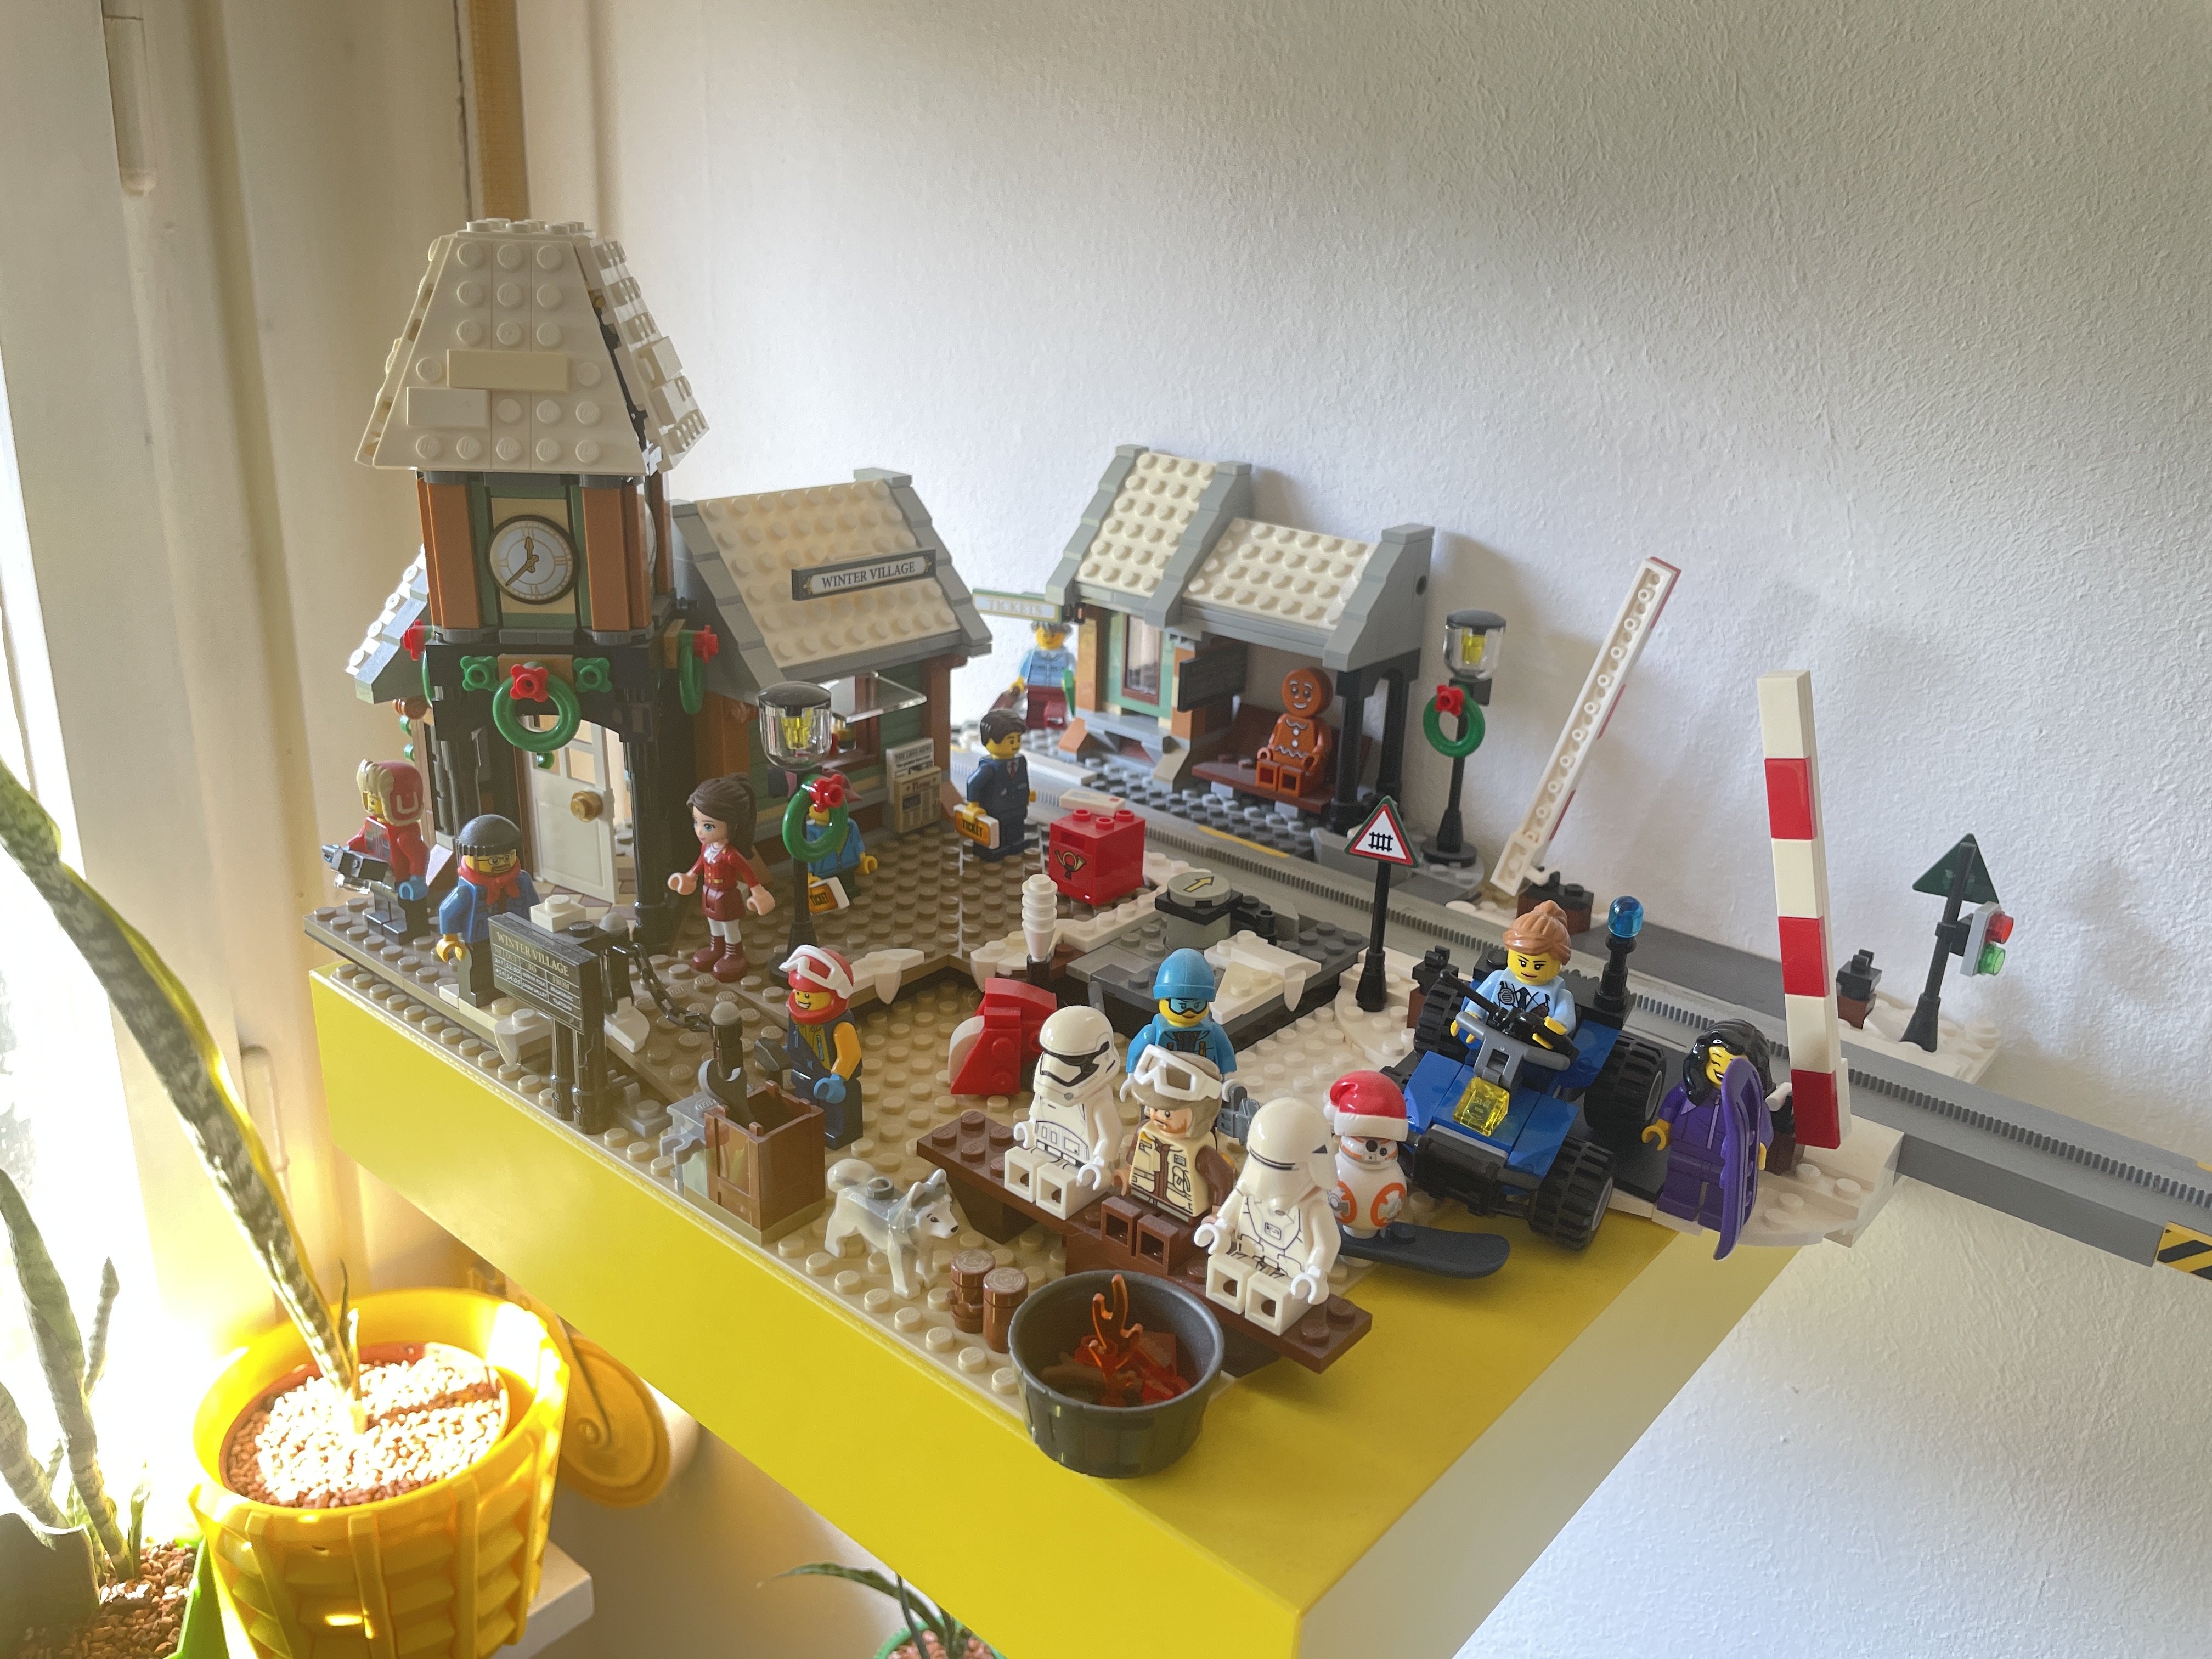
On the other end the trains are heading into (modified) winter-village.
In between there are some areas that aren’t built yet but there’s quite some space left. Also I’m a little surprised that shelves hold it up that well :D (they are bolted to a substantial brick wall tho).


I remember being a child and building a space station (it looked a bit like StarLab so I guess the station in general was on TV or in a book) with a solar array that shape, my parents were a little angry and asked where that shape came from. I didn’t have a clue so I basically just said I liked the symmetry. They told me that’s a "very bad shape and that I have to rebuild it. It ended up being 8-shaped, which was also nice.